
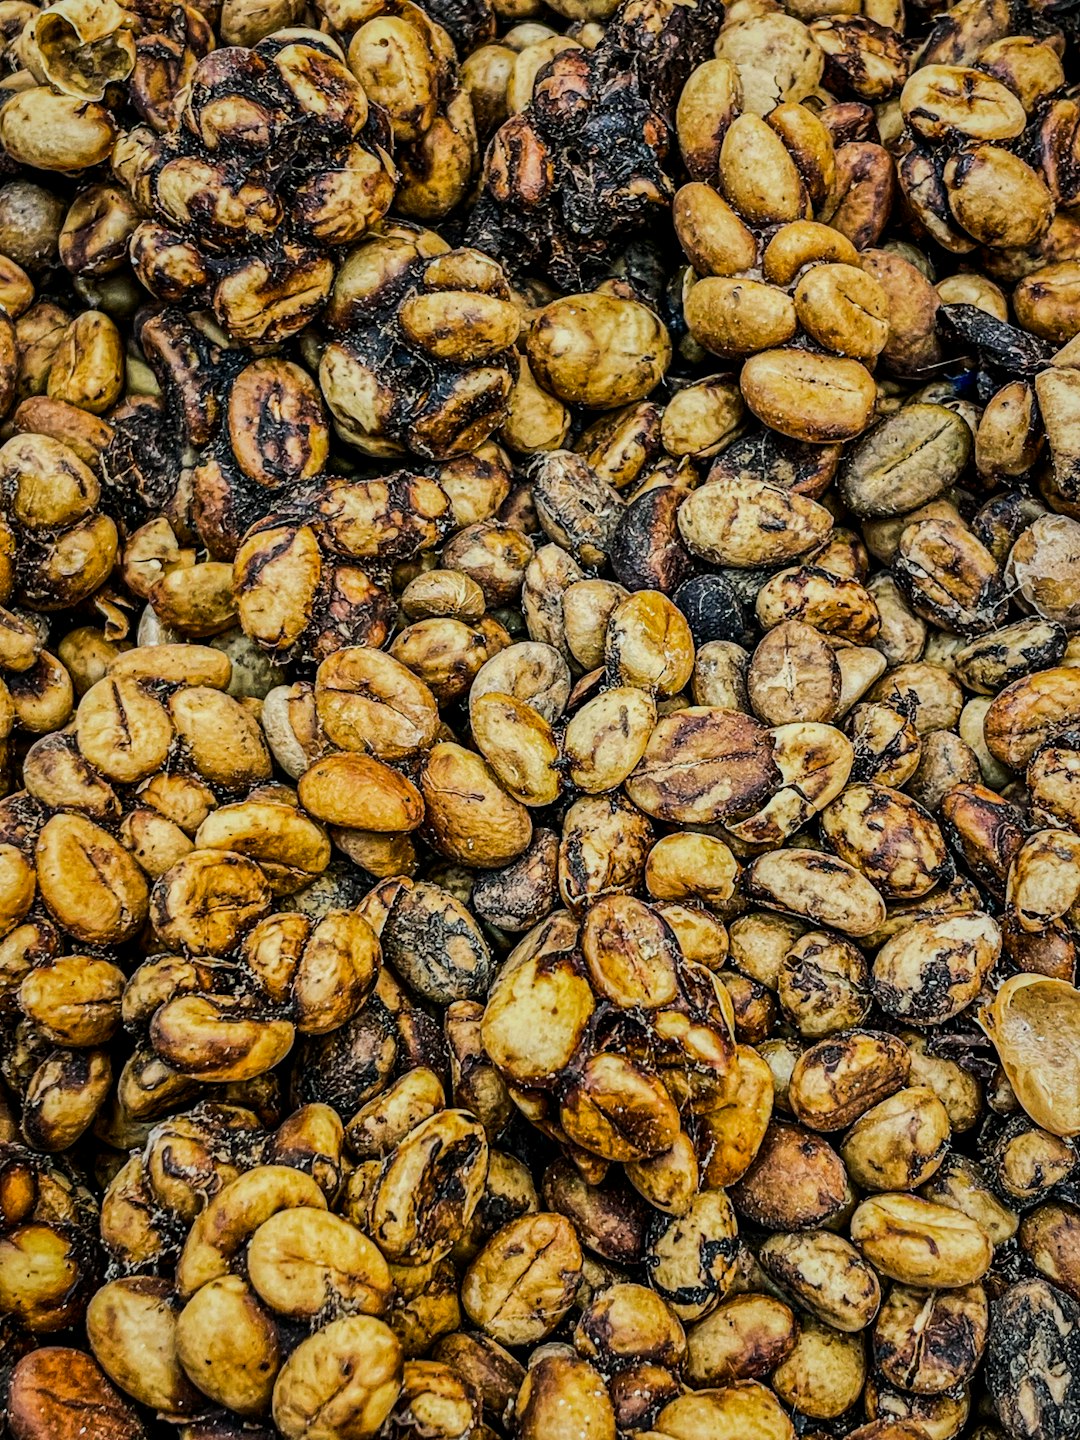
Pour-over coffee brewing stands at the perfect intersection of science and art. This method, which involves manually pouring hot water over coffee grounds in a filter, allows for complete control over the extraction process, resulting in a clean, flavorful cup that highlights the unique characteristics of the beans. However, achieving consistent, excellent results requires attention to detail and practice.
Why Choose Pour-Over?
Before diving into technique, let's understand why pour-over brewing has gained such popularity among coffee enthusiasts:
- Control: You determine every variable - water temperature, pour rate, and extraction time.
- Clarity: Paper filters remove oils and sediment, resulting in a clean cup that highlights subtle flavor notes.
- Engagement: The manual process creates a meaningful ritual and connection with your coffee.
- Customization: You can adjust your technique to highlight different characteristics in various coffee origins.
Essential Equipment
To brew a perfect pour-over, you'll need:
- Dripper: Popular options include the Hario V60, Kalita Wave, or Chemex.
- Paper filters: Specific to your dripper of choice.
- Gooseneck kettle: The narrow spout provides precision control over water flow.
- Coffee grinder: A burr grinder is essential for consistent particle size.
- Scale: Measuring both coffee and water ensures consistency.
- Timer: For tracking brew time.
The Perfect Pour-Over: Step by Step
1. Preparation
Start with fresh, high-quality beans. For pour-over, we recommend a medium-fine grind, similar to table salt. Use a ratio of 1:16 (coffee to water) as your starting point - typically 22g coffee to 350g water for a single cup.
2. Filter Rinsing
Place your filter in the dripper and rinse thoroughly with hot water. This serves three purposes:
- Removes any paper taste from the filter
- Creates a seal between the filter and dripper
- Preheats your brewing vessel
Don't forget to discard the rinse water before brewing!
3. The Bloom
Add your ground coffee to the filter and create a small well in the center. Start your timer and begin pouring water (92-96°C/195-205°F) in a spiral pattern from the center outward, using just enough to saturate all the grounds (typically twice the weight of your coffee - so about 44g water for 22g coffee).
Allow the coffee to "bloom" for 30-45 seconds. During this phase, CO₂ trapped in the freshly roasted coffee is released, creating a gentle bubbling effect. Proper blooming ensures even extraction later.
The bloom is where the magic begins. Give your coffee this moment to release its trapped gases, and it will reward you with enhanced flavor extraction.
4. The Main Pour
After blooming, continue pouring water in slow, steady spirals from the center outward, then back to the center. Your goal is to maintain a consistent water level above the grounds without overflowing or letting the bed run dry.
The main pour should be done in 2-3 phases with 30-second intervals, adding approximately 100-150g of water each time until you reach your target weight (350g in our example).
5. The Drawdown
Once you've added all your water, the final phase is the drawdown - where water filters through the coffee bed. A proper drawdown should take 1-1.5 minutes, with the total brew time between 2:30-3:30 minutes for a single cup (longer for larger batches).
The bed of coffee grounds should be relatively flat when finished, indicating even extraction. A severely uneven bed suggests issues with your pouring technique.
Common Pour-Over Mistakes and How to Fix Them
Uneven Extraction
Signs: Sour or overly acidic taste combined with bitterness
Cause: Water channeling through the coffee bed unevenly
Solution: Pour more slowly and in smaller, more controlled circles. Consider a more uniform grind size.
Over-Extraction
Signs: Bitter, astringent, hollow flavor
Cause: Water too hot, grind too fine, or brew time too long
Solution: Reduce water temperature, use a coarser grind, or pour more quickly
Under-Extraction
Signs: Sour, overly acidic, or weak flavors
Cause: Water too cool, grind too coarse, or brew time too short
Solution: Increase water temperature, use a finer grind, or pour more slowly
Clogged Filter
Signs: Extremely slow drawdown, bitter coffee
Cause: Grind too fine or pouring too aggressively
Solution: Use a coarser grind and pour more gently
Adapting Your Technique for Different Coffees
The beauty of pour-over brewing is its adaptability to different coffee varieties:
- For light roasts: Use slightly hotter water (95-96°C/203-205°F) and a longer brew time to extract the complex acids and sugars.
- For medium roasts: Standard brewing parameters work well (92-94°C/198-201°F).
- For dark roasts: Use slightly cooler water (90-92°C/195-198°F) and a shorter brew time to avoid over-extraction and bitterness.
Similarly, different origins benefit from slight adjustments:
- African coffees: Their bright acidity shines with a slightly finer grind and careful extraction.
- Central American coffees: Their balanced profile works well with standard parameters.
- Indonesian coffees: Their full body and earthy notes are complemented by a slightly coarser grind and quicker extraction.
The Journey to Pour-Over Mastery
Becoming proficient in pour-over brewing is a journey rather than a destination. Each cup is an opportunity to refine your technique and deepen your understanding of coffee extraction. Keep a brewing journal, noting your parameters and results, and don't be afraid to experiment.
Remember that the "perfect" pour-over is subjective - it's the cup that tastes best to you. Use the guidelines above as a starting point, but ultimately, let your palate guide your brewing decisions.
At GEO Coffee, we believe that the ritual of making pour-over coffee is as rewarding as drinking it. The focus and attention required creates a moment of mindfulness in our busy days, while the resulting cup offers a window into the incredible complexity that coffee has to offer.